In this blog post, I will show you how can you add NIC to Azure VM using Azure Portal. As well as, how can you remove that. Previously It was not possible using Portal but Microsoft has enabled this capability for the Azure Portal as well.
Before you add an additional NIC to the VM make sure it is supported by the size of your VM. Also, the VM should be in the deallocated state.
To add the additional NIC to the VM follow the steps:
- Go to the Azure VM and click on Networking from the blade.
- Click on Attach network interface button and select any existing if you have any else create a new one.
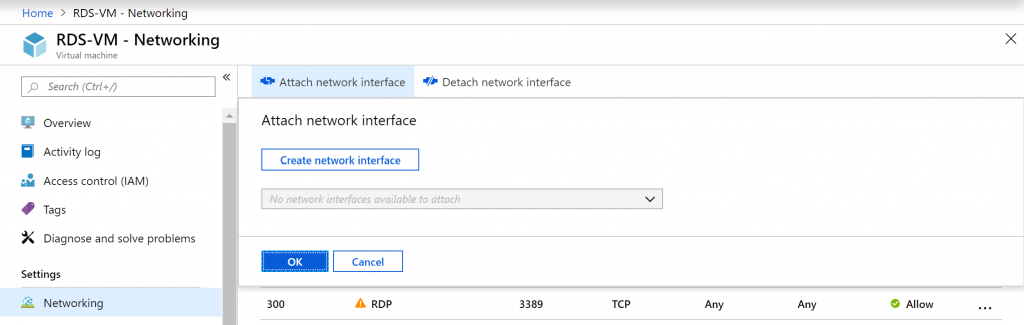
- Click on Create network interface button to create a new one.
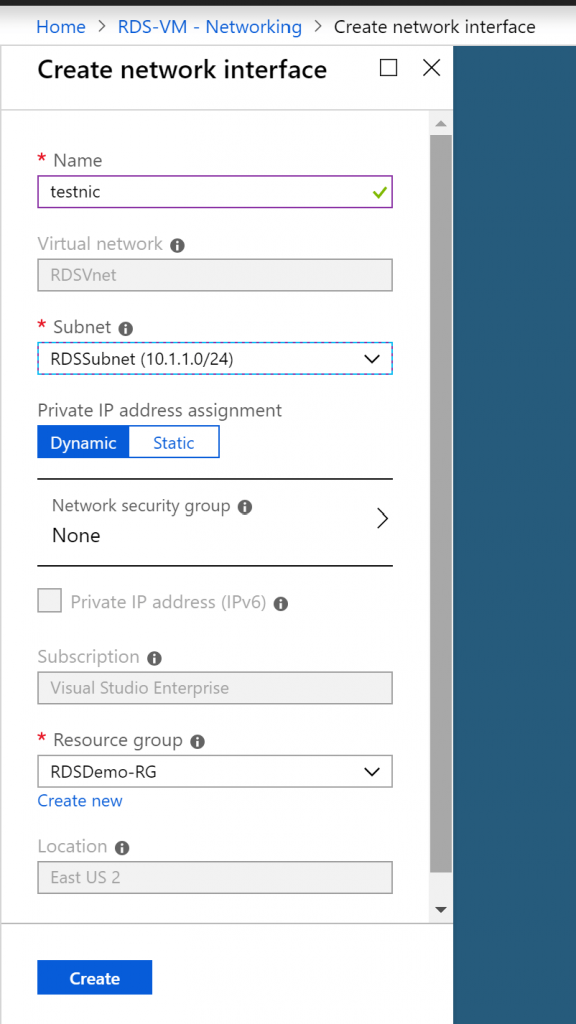
- After filling/selecting all the details, click on the Create button.
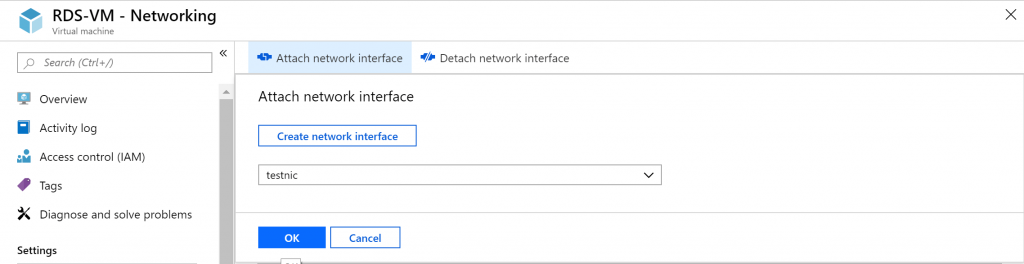
- Once you have created the NIC, select the created NIC to attach it to the VM and click OK.
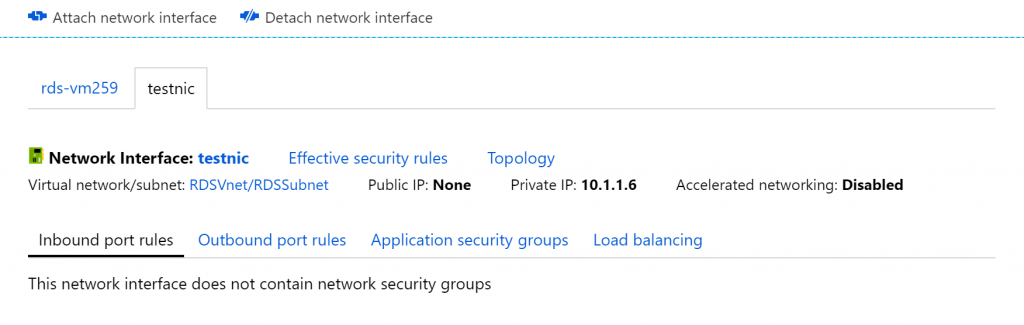
- Once the NIC is attached to the VM, you can see both NICs in the Portal.
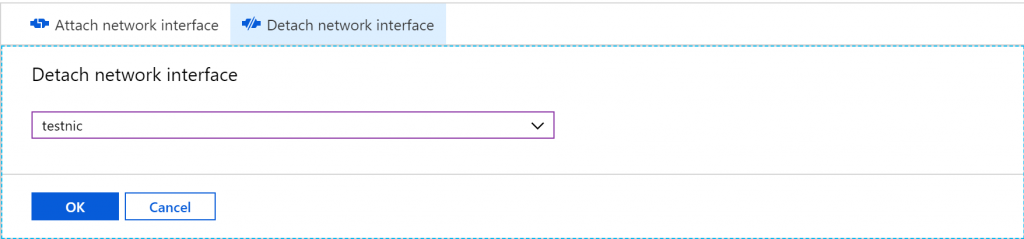
- To detach the NIC, click on the Detach network interface button. Select the NIC you want to detach and hit OK.
Hopefully, this post will help you. Please leave a comment if I missed something or you want to add something.