If you are one of those who started using Azure long ago, then you probably know in Azure has two types of deployment Classic (ASM – Azure Service Manager) and ARM (Azure Resource Manager). A few years back Azure moved focus to towards ARM only. And, new capabilities and features coming to ARM only.
We can say there is no future for Classic resources also if you have resources based on Classic deployment then you are missing so many goodnesses of Azure.
Microsoft has many ways to help you out on migrating Classic resources to ARM like MigAz, PowerShell and later Azure Portal. In this blog, we will look into the easiest way to do this, which is using Azure Portal.
Using Azure Portal, you can migrate the following services:
- Classic Azure Virtual Machine
- Classic Azure Storage Account
- Classic Azure Virtual Network
- Classic Azure Reserved IP (Azure Public IP)
Each classic Resource (except Cloud Services) has a new option in the blade called Migrate to ARM. Using this option you can migrate them into ARM. It is a three-step process:
- Validate (To check eligibility of the resources)
- Prepare (To clone resources into the ARM)
- Commit or Abort (To save the changes and delete the Classic resources or you can abort the migration)
Note: Before you start the process, make sure in the Resource providers, your Azure Subscription registered with Microsoft.ClassicInfrastructureMigrate.
Let’s walk through the process for a Classic Azure Virtual Network:
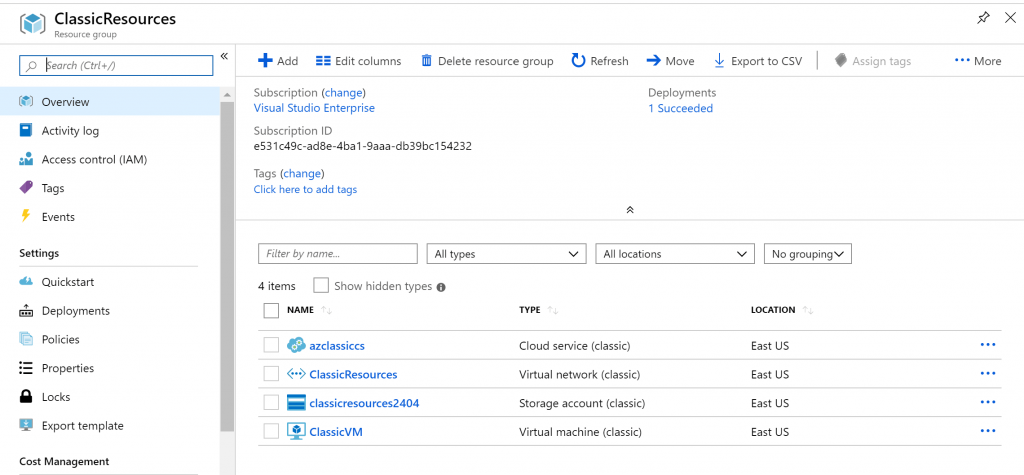
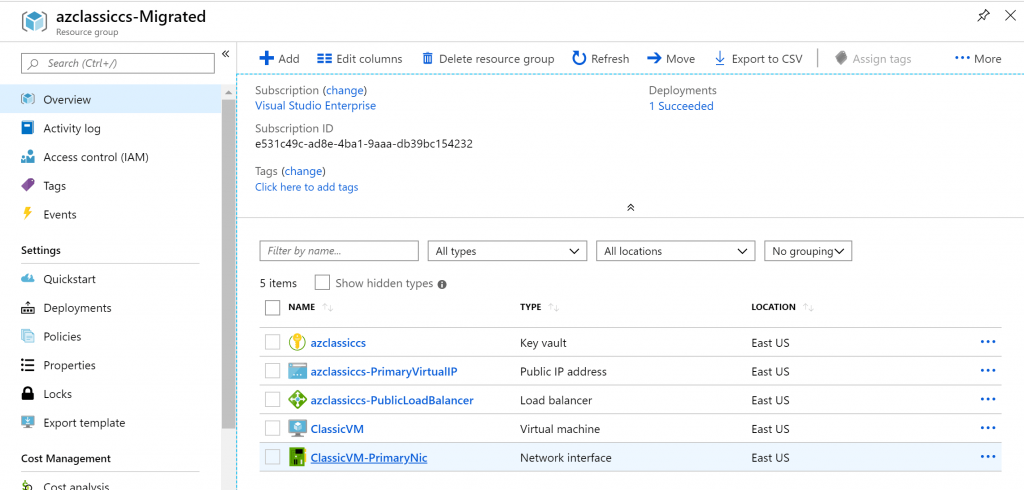
1. Below is the snapshot of my Resource Group of Classic resources.
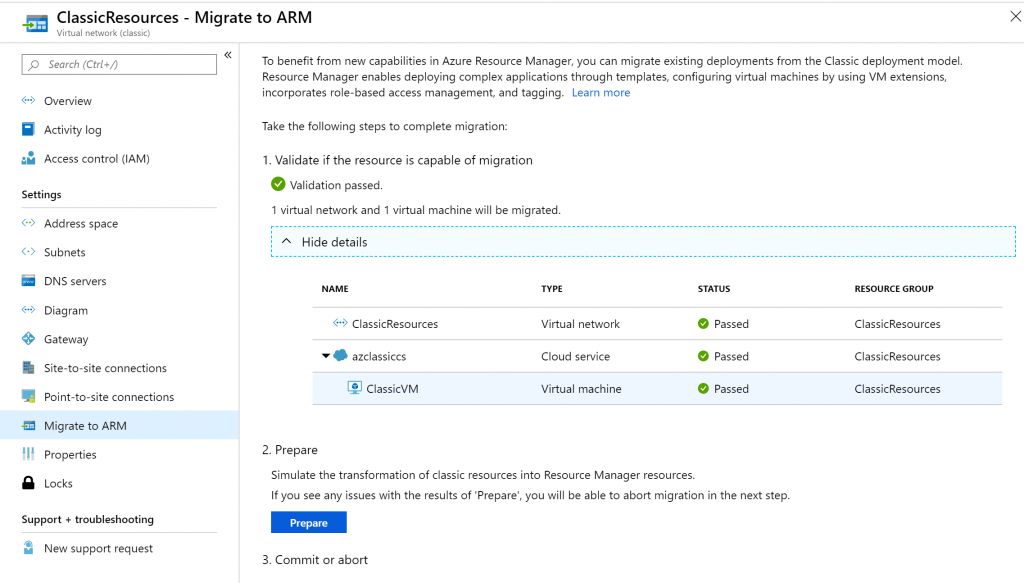
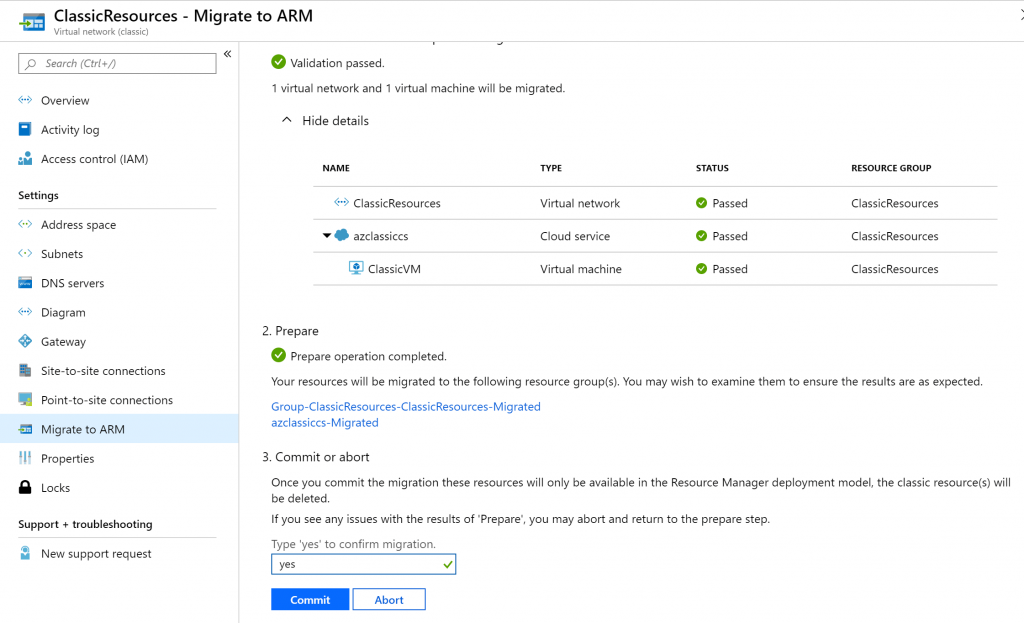
2. Now go to classic Azure Virtual Network and click on the Migrate to ARM option from the blade. And click on the Validate button. It will validate all the Virtual Machines and the VPN Gateway from the Virtual Network.

3. Once the Validation is complete, our resources are ready for the migration.
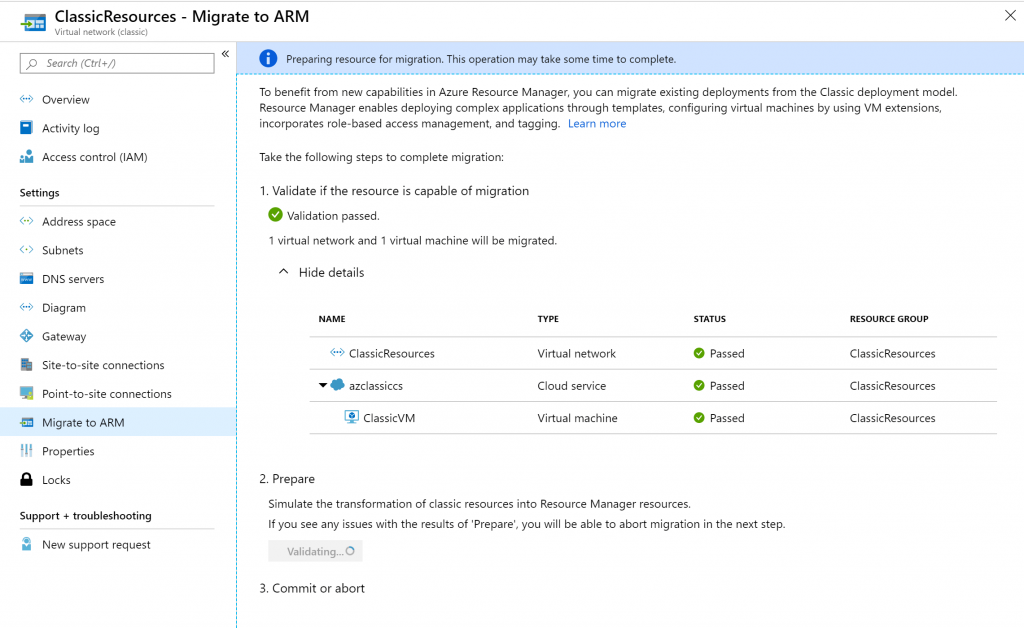
4. Next step to click on the Prepare button. It will clone the resources into ARM. It may take some time.
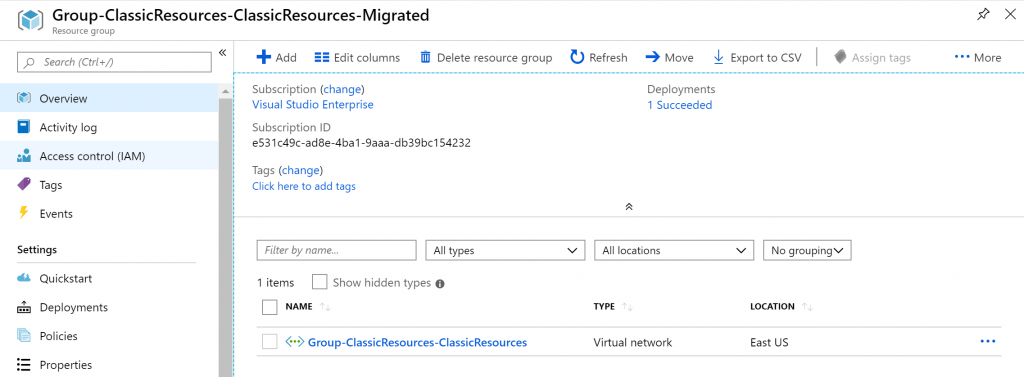
5. Now you have cloned resources in ARM. You can perform testing on them to verify the functionality. In the below snapshots you can see the resources has migrated.
6. After testing its time to confirm the migration to get rid of Classic resources. Put Yes to commit the changes.
7. Once its complete Azure will start deleting Classic resources. In the below snapshot, you can that the migrated resources are not anymore in the Resource Group.
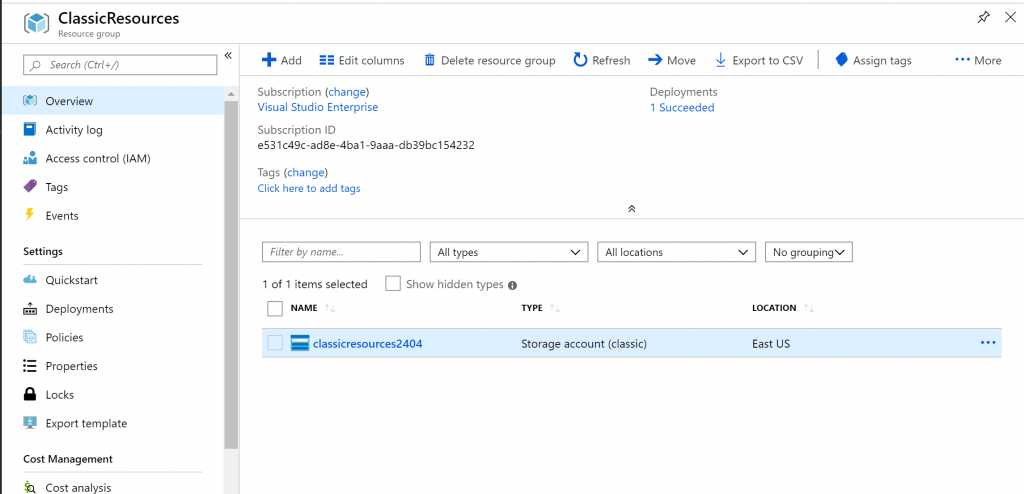
8. You can repeat the same steps for Classic Azure Storage Account as well.
I would suggest doing proper planning since it requires downtime. I hope you enjoyed it.