If you have created VMs in Azure then might have seen Managed Disk, or you probably know about Managed Disk. But have you thought about the old VMs you created before Managed Disk or, are you thinking to migrate them to Managed Disk? It is the right time to take advantages of Managed Disks, also new capabilities and sizes only coming to Managed Disks.
To learn about the benefits of Managed Disks, please go through the Microsoft docs link.
There are several options to migrate an Azure VM to Managed Disks like Azure CLI, PowerShell and Azure Portal. Azure Portal is the easiest way or most convenient way to do this.
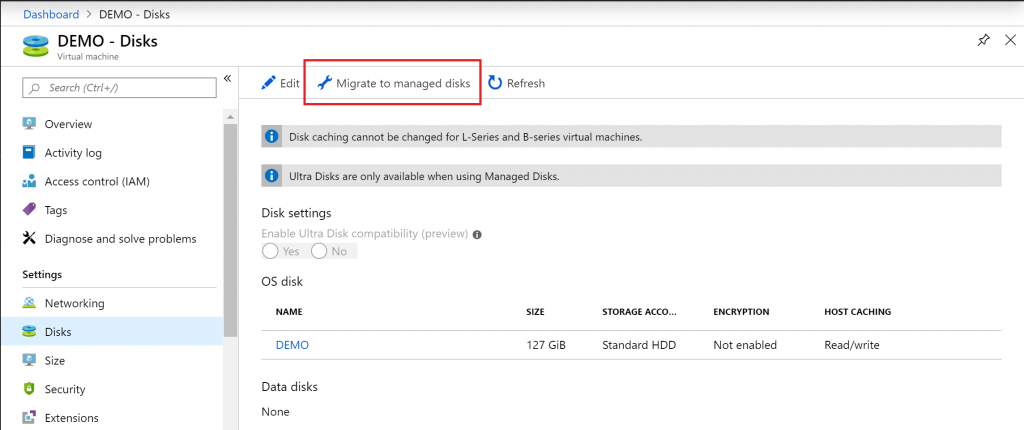
To migrate the VM to Managed Disks, go to the VM and select Disks from the VM blade. Click on Migrate to managed disks button.
Then hit the Migrate button.

Once you click on the Migrate button it will validate then it will start the migration.
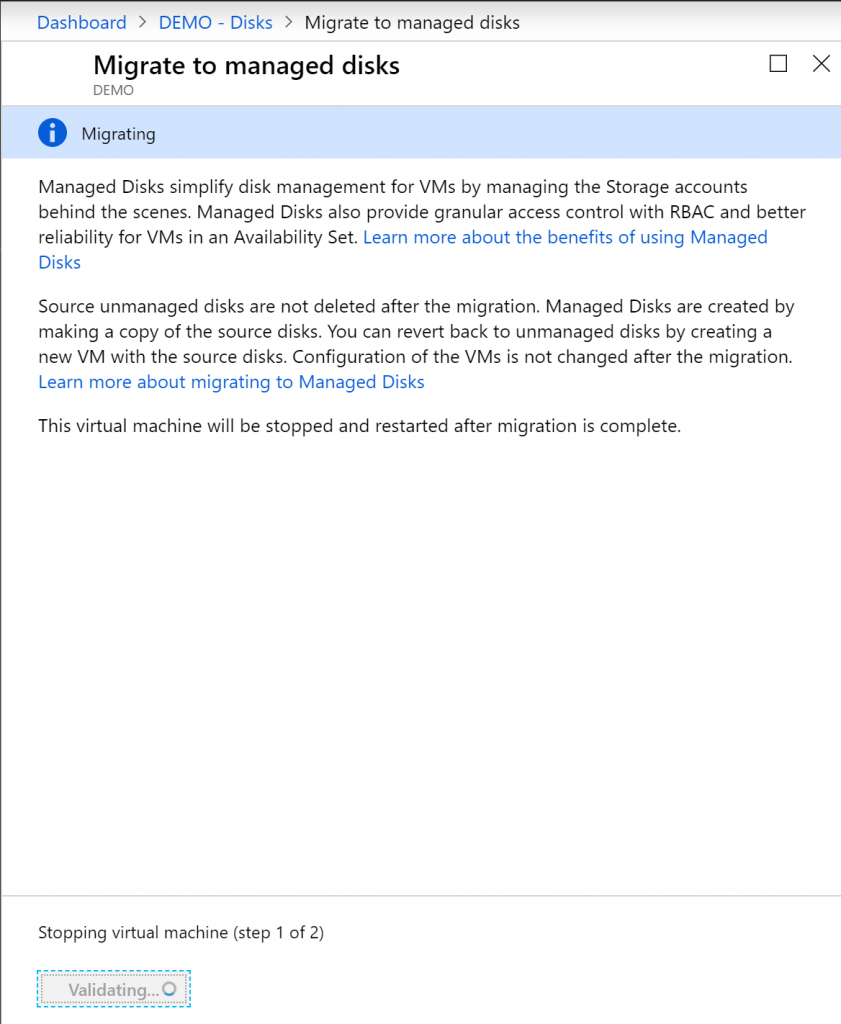
During the migration, it will stop the VM, and once it’s complete, it will start the VM again.
There is downtime in the migration. I would decide the appropriate time for your Production environment.
If you prefer PowerShell, then use Microsoft docs guide for migration.